Windshield Wipers
We installed windshield wipers (this was on our to-do list after last year's shakedown cruise). We installed two wipers, one for the port window and one for the starboard window in the pilothouse (the opening middle window geometry does not lend itself to a wiper installation). We also fabricated a teak-faced box to accommodate the windshield wiper switches. The teak box, installed on the port side at the helm, has the same geometry as the one housing the depth finder on the starboard side. We also installed a windshield washdown pump and reservoir and wired the pump to the new teak box. The plumbing for the system is in place however the spray nozzles are not installed yet. On the teak box we also added a USB charging port to facilitate the charging of iphones/iPads/etc.
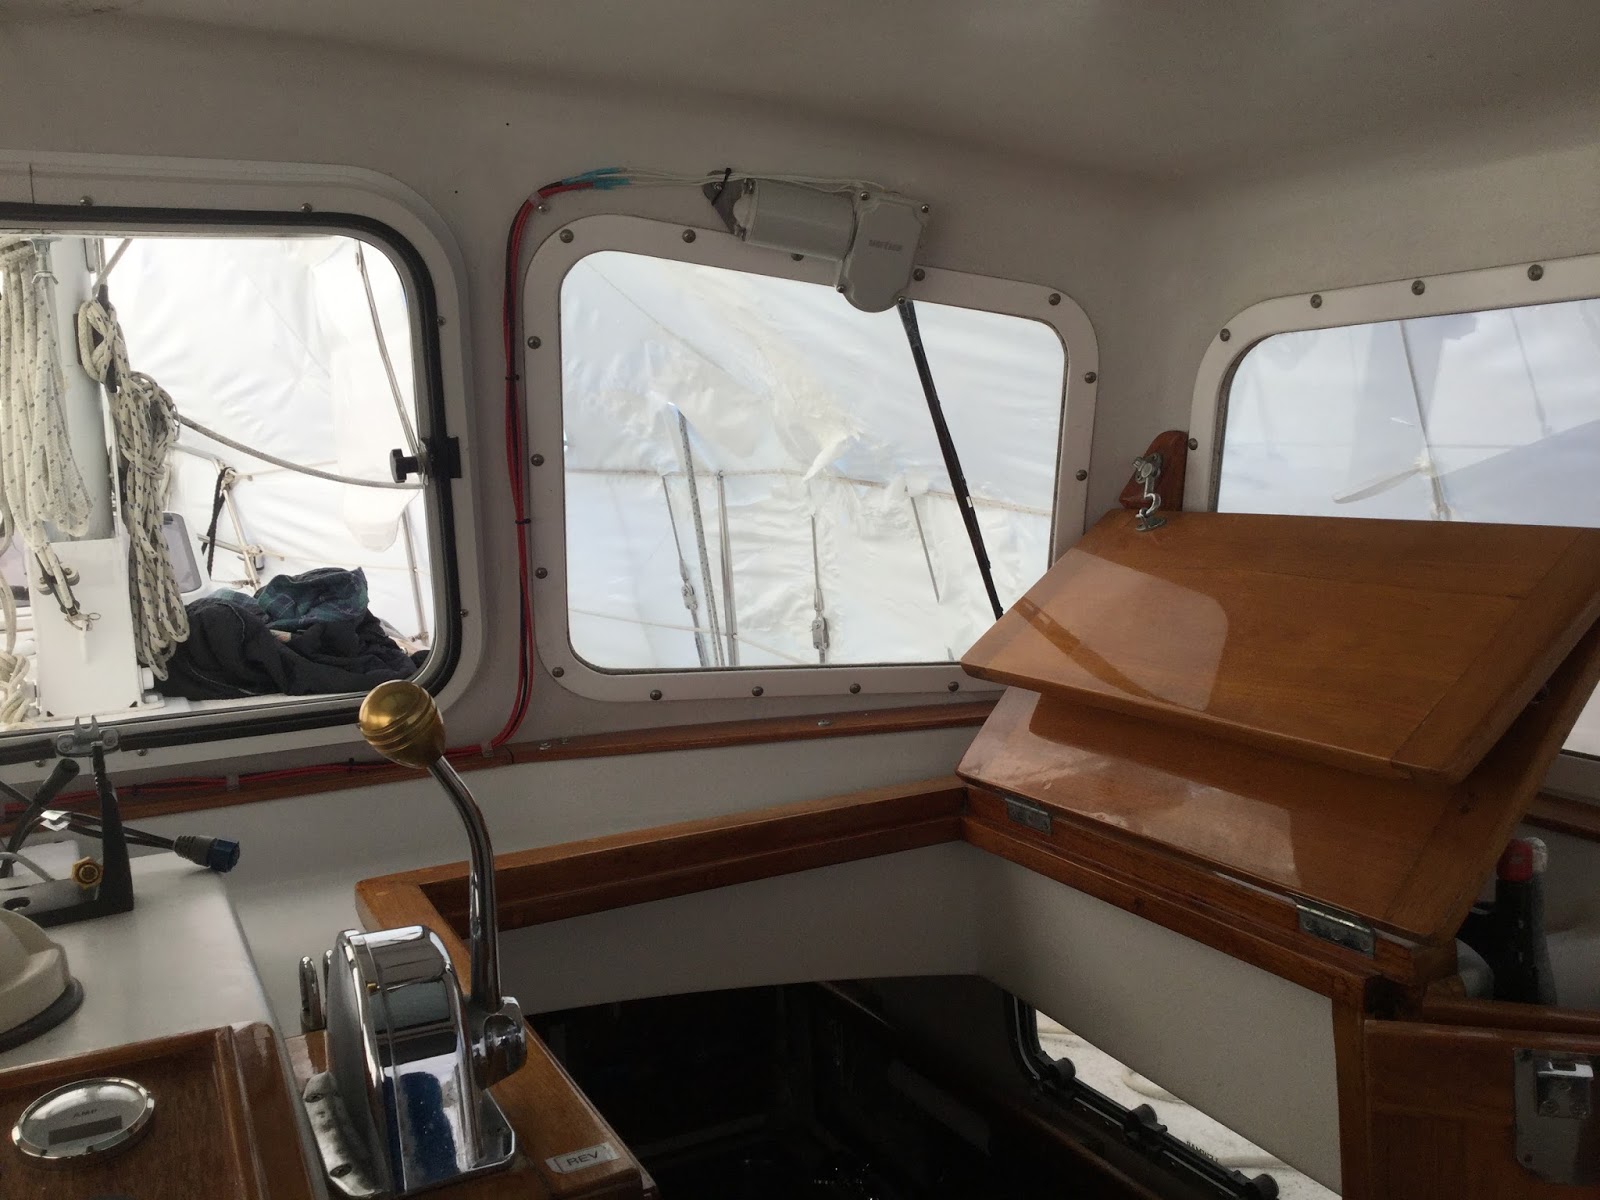
Starboard Windshield Wiper - from the Helm

Teak Box at the Helm

Electric Switches
110V Battery Charger and Cabin Heater Improvements
We installed a new battery charger with a remote controller/display and we used it over the winter to keep our batteries topped up. We also relocated the remote control panel for the Webasto cabin heater. Previously we had it secured in a small cardboard box until we found a permanent location for it. We also added a heater vent in the aft cabin and completed the installation of the V-berth vent.

Cabin Heater and Battery Charger Controllers
Storm Anchor Storage
The two main components of our 75lb Luke storm anchor are now resting on custom made teak chocks on the top of the dorade box in front of the windshield. We found the location of the anchor pieces on deck, made mock-up chocks out of pine, then routed and fitted and through-bolted the teak blocks. Small cleats are used to secure the pieces on the chocks.


Luke Storm Anchor Stock and Shank Secured in Teak Chocks
Teak Box for Electrical Switches
In the head, we made and installed a teak box to house two electrical switches for the main mast. One switch coverts the mast head light to a strobe (only to be used in emergencies) and the other activates the foredeck light.

Teak Box for Main Mast Electrical Switches
Dinghy Davits
Throughout the winter we were on the lookout for warm days when we could do small epoxy jobs and at the very end of the winter, as the temperature started increasing, we finished the davits installation. The davits are placed outboard on the aft deck and the installation was very tight with clearances of well less than 1/4 inch at multiple places. In order to fit them, we built up the deck with fiberglass and made platforms that were not only flat on the top (for the davits to rest flat on them) but also at the proper angles for the davits to clear the stern seats and the cap rail. The davits were then through-bolted with backing plates to distribute the loads. We have been very happy with the davits as they allow us to lift the dinghy out of the water (to prevent marine growth and discourage theft). An additional benefit of the davits is that they make boarding the dinghy much easier.

Port Davit Installation - Done Under Winter Shrink Wrap

Dinghy on Davits

Dinghy on Davits - Looking Aft from the Cockpit
Painting Below Deck and Life Raft Storage
The aft cabin foot wells were painted just before launch and we found a new location to store the life raft. We also gave the head (bathroom) floor a much needed paint job.

Painted Foot Wells, Cabin Heater Exhaust (upper right)

Secured Life Raft

Freshly Painted Floor in Head Compartment
Deck Wash Pump
We installed a deck wash pump under the V-berth and connected it to the seacock and strainer for the head with a three-way valve. We took advantage of a hole on deck left behind from an unused windlass foot operated switch, added a piece of teak to cover the hole, and used it to install the deck wash spigot. We have tried out the pump and works like a charm. Anchoring in mud will no longer require 20 to 30 buckets-full of water to rinse the anchor and chain! We will post a video clip of the pump in operation shortly.
We hope you enjoy the pictures. On the next blog post, we will go through our spring commissioning and sea trials.
All the best,
Alex and Cheryl